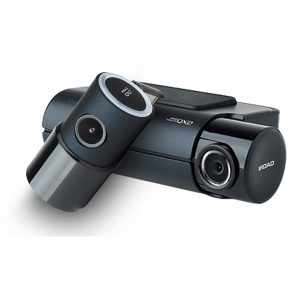
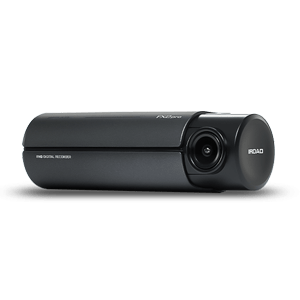
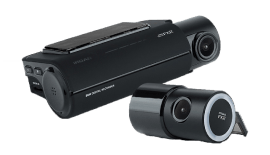
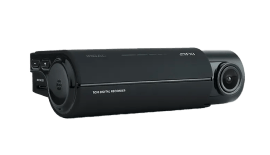
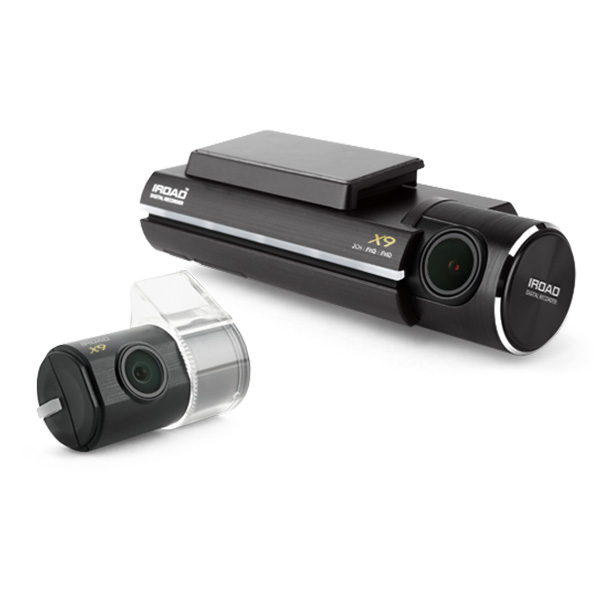
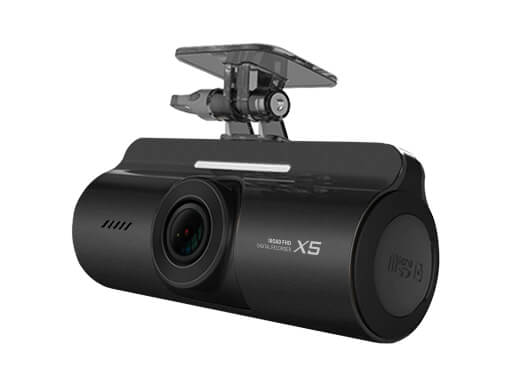
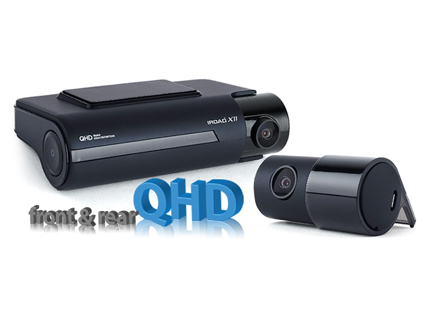
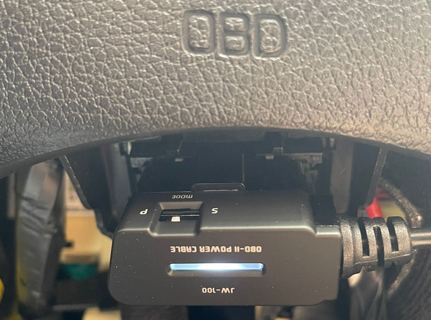
There are different methods to install a dash camera in your vehicle. Here we’ll walk you through dash cam installation using a Cigarette Lighter Adapter (CLA) Method.
You’ll need the Following Items:
- 12V Plug Power Cable
- Mounting Tape
This installation method applies only for 1-channel dash cams. In case, you’re going to install a 2-channel dash camera, then you can follow the same steps; however, you’ll need adding a rear connection cable that can connect your rear camera with the front (included in the box).
No matter what dash cam type you buy or on which vehicle you want to get it installed, your dash cam installation must be done in the right manner or chances are there that you may miss out on critical video footage. A dash camera installation may look complex, but once you start working on it, it becomes easier than you thought of it in the first place.
What You Must Know When Installing a Dash Cam with a Cigarette Lighter Adapter
Installing a dash cam with a cigarette lighter adapter will mean that your vehicle won’t have access to parking mode unless your vehicle has a cigarette socket that always remains ON (that’s only available in some local brands).
Nevertheless, if you still want to use a CLA with parking mode, then install your dash cam using a CLA along with a battery pack. In case of any queries, you can call us and our expert technicians will assist you.
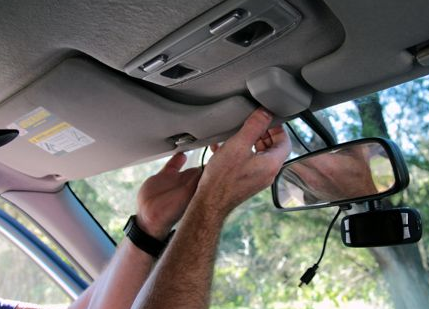
Step-By-Step Instructions to Install a Dash Cam using a Cigarette Lighter Adapter (CLA):
- Fix the dash camera to the front window of your car using the mounting tape that’s included in the box, and then rotate the shooting angle.
- Using a trim tool, hide the wire along with the headliner.
- Next, hide the wire within ‘A Pillar’ and ‘B Pillar’.
- Take enough care not to disturb the airbags, if any.
- Subsequently, hide the wire between ‘Rubber’ and ‘A Pillar’.
- Hide remaining wire beneath the carpet.
- Plug into the cigarette power socket.
Be Aware of Inadequate Ignition-Switched Power Feed
To find out, try cutting open a dash camera’s cigarette power adapter and you’ll find two wires in them viz. a positive and a negative. Due to this, the camera only knows whether it’s receiving power or not, and can’t differentiate from when the car is turned OFF. If the car is switched ‘OFF’ and the cigarette socket stays ‘ON’, the camera will still consider the car is in motion.
Conversely, cameras using direct hardwire kits come with cables having three wires, so the camera can be powered while the car isn’t in motion and let the camera know when the engine turns ON and OFF. This is needed to turn ON the parking mode on many parking-mode-enabled dash cams; else, they can record in continuous mode only.
What We Recommend
We recommend installing dash camera with a hardwiring kit and even better is to install using an OBD cable, and if you want complete peace of mind, then it’s best to install using a battery pack.
